
DIY Glitter Mugs
With the start of school for just about everyone in my area, I have to kind of say, where did the summer go? It was here and then gone in a single blink. On one hand, I am a little sad to see it go. Being a Florida girl born and raised, summer is kind of our thing! While we didn’t really spend lots of days at the beach we did have some pretty good times relaxing by the pool both at home and throughout some resorts around the Disney parks.
Two weekends ago we “ended” our summer with a trip to Disney to get the boys fresh haircuts just before their first day in their new class. It was such a fun day, with visits to see Mickey and of course a Princess or two my little girl!
One thing I absolutely love to take with us is our stroller! I got this from my parents when we found out we were having twins. It was the first purchase I made. I knew since we were going to be a family of 5 being mobile was key… And this stroller was the ticket. We still use it 2.5 years later, especially when we go to the parks and it is perfect for all my kiddos in tow! It’s called the Valco Baby stroller, it has the best tire pump you could ever ask for, the tires themselves are heavy duty, not plastic and have a good grip. There’s a rain cover and a jump “Joey” seat for my oldest to sit right up front like the captain he is. Sometimes he walks with us, but when he’s tired the “Joey seat” makes the best attachment to have on hand! It never ceases to amaze me how many times we get stopped by on-lookers and other parents to see or ask us about this stroller. If you have kiddos, 2 or more, close in age, I highly recommend this baby!!! Makes the day a total win! Pictured above is the stroller with my oldest holding my umbrella. You don’t need an umbrella if you get the hooded rain cover…. my oldest just wanted to hold it because it was “cool”. DIY Mug Tutorial


After we returned home from our Disney day, it was time to shift gears and prep the kids for new “school year”. Since my twins are only 2, they didn’t have much prepping to do for the toddler class other than bringing in some supplies. But for my oldest, it was the beginning of Pre-K!!
Now, I know this is still not considered real school just yet, but it’s the start of the beginning of school. This year in his Pre-K class he will have actual homework 2 or more times per week. He had a large school supply list, so this Pre-K thing is no joke.
I’ve been told it will also prepare me for the real deal next year. And I must say after only a few days in, I can honestly see what they mean. So in preparation for getting everything ready, I thought it might be nice for my little Pre-K guy to gift his teacher with a cute little mug that I whipped up in no time at all. And I would like to share that little project with you.
Of course using my silhouette I found this teachers quote in the silhouette library. I’m not sure if it was included or if I purchased it, but even if you have to buy the graphic, it is usually only $.99. Totally ideal!
Or you can just create the same look using the free fonts within the program. A while back I had purchased a couple of these white ceramic tall mugs from a discount store. You can find them some similar on amazon here.
Once you have all the materials you will need to set up an area to create.
in this video to see how I have it set up!I absolutely love the Dreambox setup.It really makes crafting so much more fun!
To start I figured out my design and my layout. In the program, I cut the thinner wording for the design first.
Then I cut the thick wording. And of course a pink heart. Once I had all my pieces cut, I was ready to place on my mug. Next I placed my transfer material over the vinyl and then prepped it for my mug. I placed is so that if holding the mug in your right hand, someone would see the design. Make sure the vinyl is nice and smooth before removing any of the transfer material. This picture shows it in my left hand, but the design is looking at me versus away. Isn’t it so cute?!! I just love these! I will definitely be making these mugs in the future with some other wording as well!!!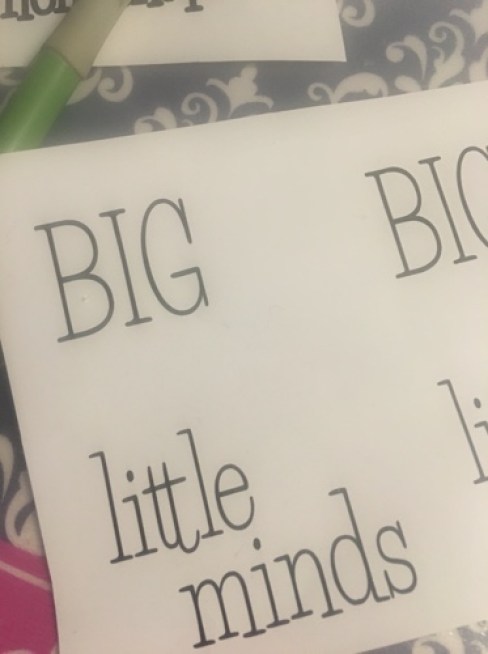


Here’s a pic of me and my little one just before going to class!! Not going to lie… it was a little emotional for me, it was his last “first day” of being a preschooler. It is hard to see him grow up, proud to be his mommy.
My twins… well we made a mug for their teacher too, but let’s just say they weren’t was happy about their first day! By far the best picture ever!! Her face says it all, its exactly how I feel about them growing up too!! I hope this tutorial was helpful in planning a teacher gift for you in the future.


Do you have any similar ideas? As always, leave me a comment, or share this post if you liked it! Also, tomorrow… I’ve a real treat planned for you!
-Layne

Comments & Reviews
Wonderful post deat ……………keep updating!!