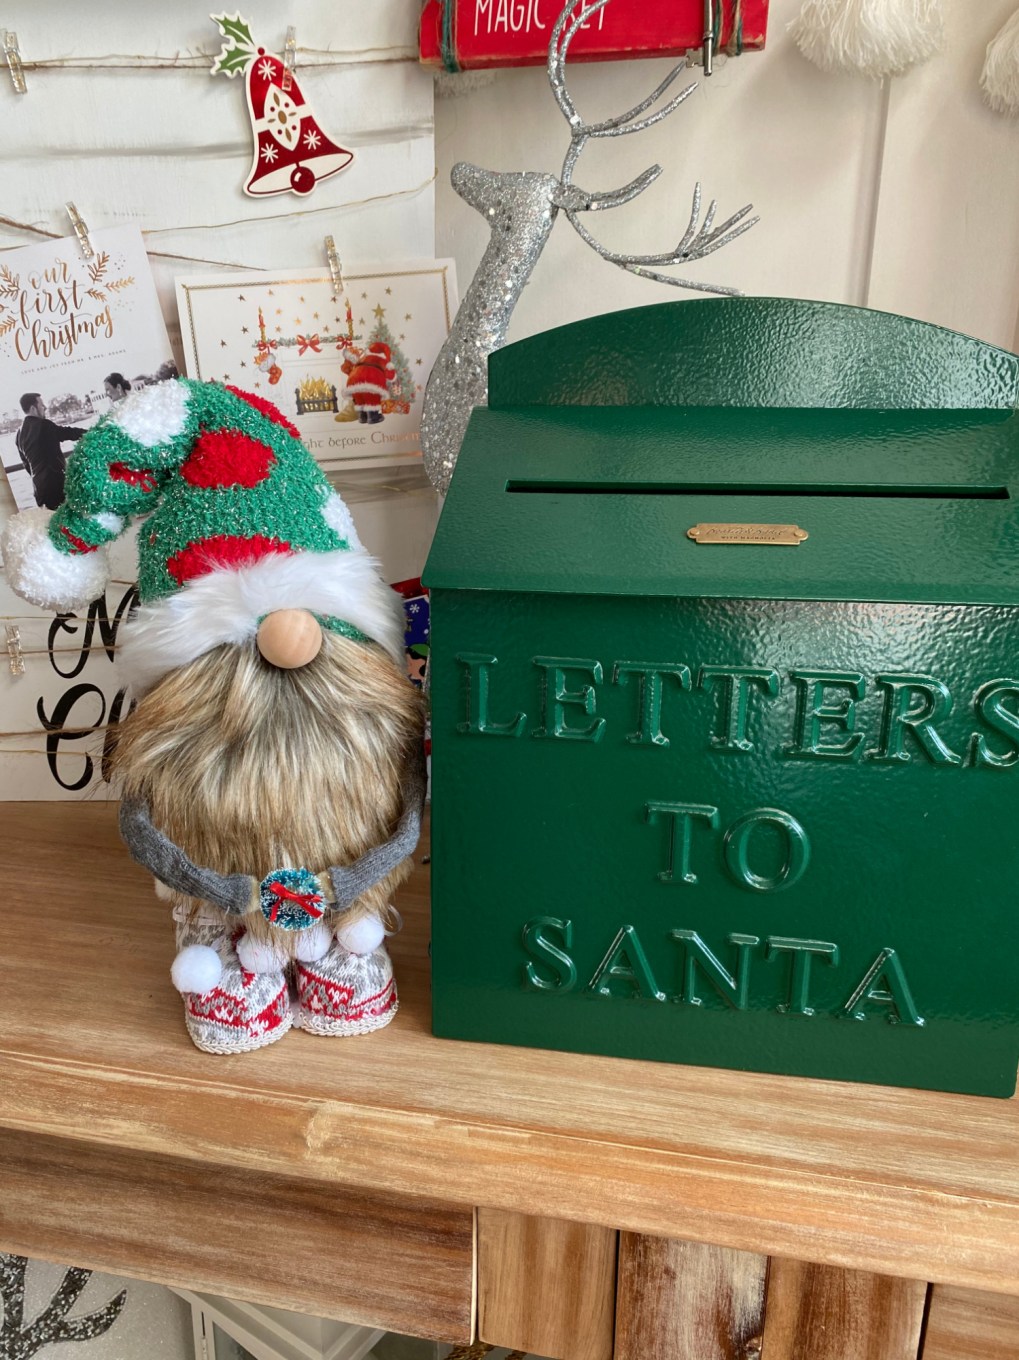
Create adorable DIY Christmas Gnomes using this tutorial. It is easy to follow and does not require any sewing. These are perfect to display in your home and to give as cute gifts.
I love gnomes. In fact, I have started making a handful of them almost every season or holiday to go with my seasonal decor over the past year.
I have even gifted them to family and friends who enjoy a cute gnome or two. So, having a Christmas gnome to go along with my decor was no different.
I created the cutest sock gnome with boots that does not require any sewing.
How To Make Sock DIY Christmas Gnomes
Making sock gnomes without any kind of sewing is the best kind of gnomes to make. For this gnome, I got a little extra and added boots which were already made as an ornament.
I recently shared my process for making this DIY Santa Mobile on my Facebook page where I go live showing new craft ideas. If you don’t follow me there, I’d love to have you over there in our community. I am also sharing new craft ideas.
Below is the video I created showing my process.
Related Post: Check Out this tutorial for DIY Cone Gnomes
Once you have all the materials you will need to set up an area to create. The dining room table or your craft table is a great place. I made this in front of my Dreambox cabinet as it has all my supplies within the craft storage cabinet at an arms reach.
You CAN GET $100 OFF your own DREAMBOX using code: CRAFTYLIFE at Checkout!
You can also check out my Dreambox Setup in this video to see how I have it set up!I absolutely love the Dreambox setup.It really makes crafting so much more fun!
Materials Needed:
- Socks ( 1 for the body, 1 for the hat)
- rice or beans
- polyfill
- gnome nose – wood bead
- fur
- boots
- embellishments
- hot glue and a glue gun
Making the DIY Christmas Gnome
Using the body sock, fill the bottom with beans or rice about 1/2 cup to give it a secure base. Then use polyfill to stuff the gnome tight and full. The more stuffed it is the better shape the body will hold.
Then, secure the fur and nose to the front of the gnome. I make sure to note where the hat will be placed and secure the hat, nose and fur into place with hot glue.
Then you can add any embellishments, or attached with glue to the boots. The boots on this gnome were an ornament that I cut the string from and just secure the bottom to the top of the boots.
I think these are adorable and you can create many versions of these DIY Christmas gnomes for any season. What do think? I displayed this little guy on my front foyer table.


Leave A Reply!